
Learn to generate open graph images for posts with Gatsby.
What? 🤨
When you post a link to your website (or to a blog post) on social media you want it to catch people’s attention.
One way to do this effectively is to provide Open Graph protocol meta information in the <head> of your website, including providing the og:image meta tag providing the URL to an image to be displayed.
Further, you are encouraged to provide a custom image for each URL, which can be a tedious process if you are manually creating the card image.
Goals
The goals are:
- Create a Node script to generate an Open Graph image for each blog post.
- Add an
ogimagefields property that we can query for in Gatsby’s static GraphyQL query. - Include the
<meta property="og:image" />meta tag in the<head>of the blog post page using Helmet.
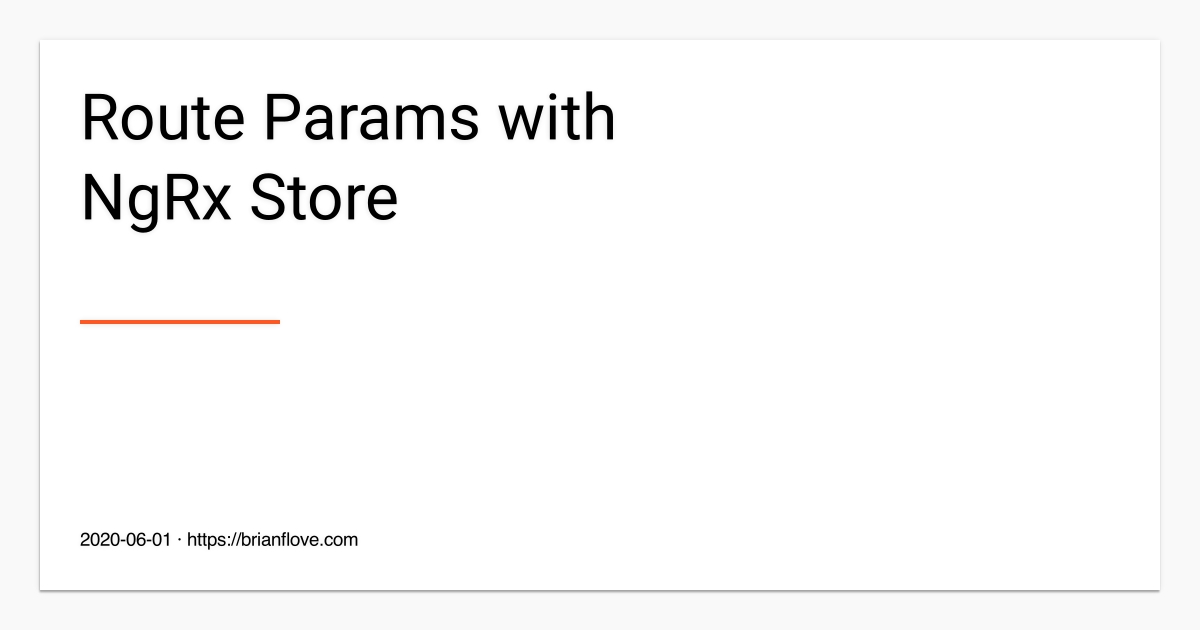
Here is an Open Graph image that I want to generate for this post:
Getting Started
To get started, we’ll need to install some dependencies:
npm install -D canvas gray-matterWe’ll be using:
- canvas to programmatically generate the image using an HTML canvas-link API.
- gray-matter will enable us to access the markdown and frontmatter data.
Generate Image using Canvas
Let’s create a generateOpenGraphImage() function that will accept:
- The
destpath for the image. - The
titleof the blog post. - The
dateof the blog post.
We’re going to create a 1200x630 image. The first step is to register some custom fonts:
const generateOpenGraphImage = (dest, title, date) => {
  const height = 630;
  const width = 1200;
  const padding = 80;

  // add font
  registerFont('./fonts/Roboto-Regular.ttf', { family: 'Roboto' });
  registerFont('./fonts/Roboto-Thin.ttf', { family: 'Roboto', style: 'Thin' });
};
In the code above we’re using the registerFont() function to register two fonts, both of the same family and one that is the Thin style.
Next, let’s use the createCanvas() function to generate the canvas, and then get access to the context:
const generateOpenGraphImage = (dest, title, date) => {
  // code omitted for brevity

  const canvas = createCanvas(width, height);
  const context = canvas.getContext('2d');
};
Next, I want to wrap the blog post’s title text.
So, we’ll define a new wrapText() function:
const generateOpenGraphImage = (dest, title, date) => {
  // code omitted for brevity

  function wrapText(context, text, x, y, line_width, line_height) {
    var line = '';
    var paragraphs = text.split('\n');
    for (var i = 0; i < paragraphs.length; i++) {
      var words = paragraphs[i].split(' ');
      for (var n = 0; n < words.length; n++) {
        var testLine = line + words[n] + ' ';
        var metrics = context.measureText(testLine);
        var testWidth = metrics.width;
        if (testWidth > line_width && n > 0) {
          context.fillText(line, x, y);
          line = words[n] + ' ';
          y += line_height;
        } else {
          line = testLine;
        }
      }
      context.fillText(line, x, y);
      y += line_height;
      line = '';
    }

    return y;
  }
};
Next, we’ll fill in the entire canvas with a light gray, and then create a white card with some box shadowing:
const generateOpenGraphImage = (dest, title, date) => {
  // code omitted for brevity

  // light gray fill
  context.fillStyle = '#f9f9fa';
  context.fillRect(0, 0, width, height);

  // shadow: 0 2px 2px 0 rgba(0,0,0,.14)
  context.fillStyle = '#fff';
  context.shadowOffsetX = 0;
  context.shadowOffsetY = 2;
  context.shadowBlur = 2;
  context.shadowColor = 'rgba(0, 0, 0, 0.14)';
  context.fillRect(40, 40, width - padding, height - padding);

  // shadow: 0 3px 1px -2px rgba(0,0,0,.2)
  context.fillStyle = '#fff';
  context.shadowOffsetX = 0;
  context.shadowOffsetY = 3;
  context.shadowBlur = -2;
  context.shadowColor = 'rgba(0, 0, 0, 0.2)';
  context.fillRect(40, 40, width - padding, height - padding);

  // shadow: 0 1px 5px 0 rgba(0,0,0,.12);
  context.fillStyle = '#fff';
  context.shadowOffsetX = 0;
  context.shadowOffsetY = 1;
  context.shadowBlur = 5;
  context.shadowColor = 'rgba(0, 0, 0, 0.12)';
  context.fillRect(40, 40, width - padding, height - padding);
};
Next, we’ll add the blog post’s title and then a subtitle that contains the date of the post as well as the URL of my blog:
const generateOpenGraphImage = (dest, title, date) => {
  // code omitted for brevity

  context.font = '48pt Roboto';
  context.textAlign = 'left';
  context.textBaseline = 'top';
  context.fillStyle = '#000';
  const y = wrapText(context, title, padding, padding, 600, padding);

  context.fillStyle = '#ff5722';
  context.fillRect(padding, y + padding, 200, 4);

  const subtitle = date
    ? `${date} · https://brianflove.com`
    : 'https://brianflove.com';
  context.font = '14pt Roboto Thin';
  context.textAlign = 'left';
  context.textBaseline = 'bottom';
  context.fillStyle = '#000';
  context.fillText(subtitle, padding, height - padding);

  const buffer = canvas.toBuffer('image/jpeg', { quality: 1 });
  fs.writeFileSync(dest, buffer);
};
Finally, we’ll write out the jpeg image using the toBuffer() method of the canvas:
const generateOpenGraphImage = (dest, title, date) => {
  // code omitted for brevity

  const buffer = canvas.toBuffer('image/jpeg', { quality: 1 });
  fs.writeFileSync(dest, buffer);
};
Full Code to Generate Image
Here is the full code to generate the Open Graph image using canvas:
const generateOpenGraphImage = (dest, title, date) => {
  const height = 630;
  const width = 1200;
  const padding = 80;

  // add font
  registerFont('./fonts/Roboto-Regular.ttf', { family: 'Roboto' });
  registerFont('./fonts/Roboto-Thin.ttf', { family: 'Roboto', style: 'Thin' });

  const canvas = createCanvas(width, height);
  const context = canvas.getContext('2d');

  function wrapText(context, text, x, y, line_width, line_height) {
    var line = '';
    var paragraphs = text.split('\n');
    for (var i = 0; i < paragraphs.length; i++) {
      var words = paragraphs[i].split(' ');
      for (var n = 0; n < words.length; n++) {
        var testLine = line + words[n] + ' ';
        var metrics = context.measureText(testLine);
        var testWidth = metrics.width;
        if (testWidth > line_width && n > 0) {
          context.fillText(line, x, y);
          line = words[n] + ' ';
          y += line_height;
        } else {
          line = testLine;
        }
      }
      context.fillText(line, x, y);
      y += line_height;
      line = '';
    }

    return y;
  }

  context.fillStyle = '#f9f9fa';
  context.fillRect(0, 0, width, height);

  // 0 2px 2px 0 rgba(0,0,0,.14)
  context.fillStyle = '#fff';
  context.shadowOffsetX = 0;
  context.shadowOffsetY = 2;
  context.shadowBlur = 2;
  context.shadowColor = 'rgba(0, 0, 0, 0.14)';
  context.fillRect(40, 40, width - padding, height - padding);

  // 0 3px 1px -2px rgba(0,0,0,.2)
  context.fillStyle = '#fff';
  context.shadowOffsetX = 0;
  context.shadowOffsetY = 3;
  context.shadowBlur = -2;
  context.shadowColor = 'rgba(0, 0, 0, 0.2)';
  context.fillRect(40, 40, width - padding, height - padding);

  // 0 1px 5px 0 rgba(0,0,0,.12);
  context.fillStyle = '#fff';
  context.shadowOffsetX = 0;
  context.shadowOffsetY = 1;
  context.shadowBlur = 5;
  context.shadowColor = 'rgba(0, 0, 0, 0.12)';
  context.fillRect(40, 40, width - padding, height - padding);

  context.font = '48pt Roboto';
  context.textAlign = 'left';
  context.textBaseline = 'top';
  context.fillStyle = '#000';
  const y = wrapText(context, title, padding, padding, 600, padding);

  context.fillStyle = '#ff5722';
  context.fillRect(padding, y + padding, 200, 4);

  const subtitle = date
    ? `${date} · https://brianflove.com`
    : 'https://brianflove.com';
  context.font = '14pt Roboto Thin';
  context.textAlign = 'left';
  context.textBaseline = 'bottom';
  context.fillStyle = '#000';
  context.fillText(subtitle, padding, height - padding);

  const buffer = canvas.toBuffer('image/jpeg', { quality: 1 });
  fs.writeFileSync(dest, buffer);
};
Executable
The next step is to create a binary that we’ll execute as part of the build pipeline.
I’ll create a new generate executable file:
mkdir bin
cd bin
touch bg
chmod +x bg
The Node executable will invoke our generateOpenGraphImage() function:
#!/usr/bin/env node

const fs = require('fs');
const matter = require('gray-matter');
const path = require('path');

const openGraphImage = async (src, dest) => {
  const { generateOpenGraphImage, getFilesInDirectory } = require('./utils.js');

  const srcDir = path.join(__dirname, '..', src);
  const imagePath = path.join(__dirname, '..', dest);

  // check if destination directory exists
  if (!fs.existsSync(imagePath)) {
    fs.mkdirSync(imagePath);
  }

  const files = await getFilesInDirectory(srcDir);
  await Promise.all(
    files
      .filter((file) => file.match(/^\./) === null)
      .map(async (file) => {
        const post = file.split('.').slice(0, -1).join('.');
        const image = path.join(imagePath, post) + '.jpg';

        // check if the image file already exists
        if (fs.existsSync(image)) {
          return;
        }

        const markdown = matter(fs.readFileSync(path.join(srcDir, file)));

        // check frontmatter title
        if (!markdown.data.hasOwnProperty('title')) {
          return;
        }

        const matches = file.match(/^([\d]{4})-([\d]{2})-([\d]{2})/);
        const [date] = matches;

        process.stdout.write(`Generating open graph image for: ${image}\n`);

        // fetch a new banner image
        generateOpenGraphImage(image, markdown.data.title, date);
      }),
  );
};

if (require.main === module) {
  (async () => {
    try {
      await openGraphImage('./src/pages/posts', './static/img/ogimages');
    } catch (error) {
      console.error(error);
      process.exit(1);
    }

    process.exit(0);
  })();
}
Let’s review the Node script:
- First, we need to import the
fs,gray-matter, andpathpackages. - Declare a new
openGraphImage()function that we’ll execute. - We’ll import the
generateOpenGraphImage()function along with agetFilesInDirectoryhelper function. ThegetFilesInDirectory()function will enable us to get all of the markdown post files. In my setup, I have a posts directory that contains all of the blog posts on the site. - Next, we’ll verify that the destination directory exists, and if not, we’ll create the directory in Gatsby’s static directory.
- For all of the blog post
fileswe are going to generate an Open Graph image, but, only if the image does not already exist. - We’ll then use the
matter()function from thegray-matterpackage to parse the markdown file’s contents, including the frontmatter that contains thetitleof the blog post. - In my specific implementation, I do not have the date stored in the post’s frontmatter, rather, the date is part of the markdown filename. For example, the filename for this blog post is 2020-06-03-generate-open-graph-image-gatsby.md. Long story short, this is because I transitioned this site from Jekyll to Gatsby. So, I’ll use the
match()method along with a regular expression to get the date of the post. - Finally, we’ll invoke the
generateOpenGraphImage()function, specifying the destination path, the title, and the date.
Add ogimage Node field
Next, we’ll modify the gatsby-node.js file to add a new ogimage field:
const filename = createFilePath({ node, getNode, basePath: 'posts' });
const matches = filename.match(/^\/([\d]{4}-[\d]{2}-[\d]{2})-{1}(.+)\/$/);
const [, date, title] = matches;
const ogimage = `/${date}-${title}.jpg`;
createNodeField({ node, name: 'ogimage', value: ogimage });
Update GraphQL Static Query
Next, we’ll update the GraphQL static query to include the ogimage field:
export const pageQuery = graphql`
  query PostTemplate($id: String!) {
    post: markdownRemark(
      frontmatter: { templateKey: { eq: "post" } }
      id: { eq: $id }
    ) {
      fields {
        ogimage
      }
    }
  }
`;
Specify og:image Meta Tag
The last step is to modify our template to specify the appropriate meta tag with the URL to the Open Graph image that we are generating for each post.
I’m using Helmet, so I’ll simply add the tag to my <Head> component that uses helmet.
First, we’ll verify that the ogimage exists, as my component is used for all pages and posts on the site.
If the ogimage property does not exist on the field object, then we’ll use a default image:
export default ({ excerpt, fields, frontmatter }: Props) => {
  let ogimage;
  if (fields && fields.ogimage) {
    ogimage = `/img/ogimages${fields.ogimage}`;
  } else {
    ogimage = '/img/og-image.jpg';
  }
And, then we’ll specify the og:image meta tag using the ogimage URL:
<Helmet>
  <html lang="en" />
  <title>
    {frontmatter && frontmatter.title ? `${frontmatter.title} | Brian F Love` :
    defaultTitle}
  </title>
  <!-- code omitted for brevity -->
  <meta property="og:type" content="website" />
  <meta property="og:image" content="{`${siteUrl}${ogimage}`}" />
</Helmet>
Conclusion
In conclusion, while you can certainly manually create Open Graph protocol images for each page/post on your website, it’s also convenient to have these automatically generated, especially if your Gatsby site content is generated via a headless CMS.
Did you notice a typo or run into an issue using the code in the post? Let me know in the comments.