
In this post I am going to take a quick dive into the Nginx web server.
I have long been a big fan of Apache’s HTTP web server. It’s powerful, versatile, and free. For the most part, the website that I have worked on are not mega websites, so I have never run into performance issues using Apache (or IIS for that matter). However, I still wanted to play with nginx. What is it? It’s a web server, and much more:
Nginx (pronounced engine-x) is a free, open-source, high-performance HTTP server and reverse proxy, as well as an IMAP/POP3 proxy server.
So, let’s dive in…
Installing Nginx on OS X
The easiest way to install nginx on OS X is to use homebrew.
$ brew update
$ brew install nginx
Well, that was easy. :)
Starting Nginx
This is also just as easy as the installation. Just run the nginx command (with no options) as root.
$ sudo nginxYou can also use the following commands to tell nginx to stop or reload:
$ sudo nginx -s stop
$ sudo nginx -s reload
So, where is everything?
Here is a quick rundown of the default paths:
- webroot: /usr/local/Cellar/nginx/[version]/html
- configuration: /usr/local/etc/nginx/nginx.conf<
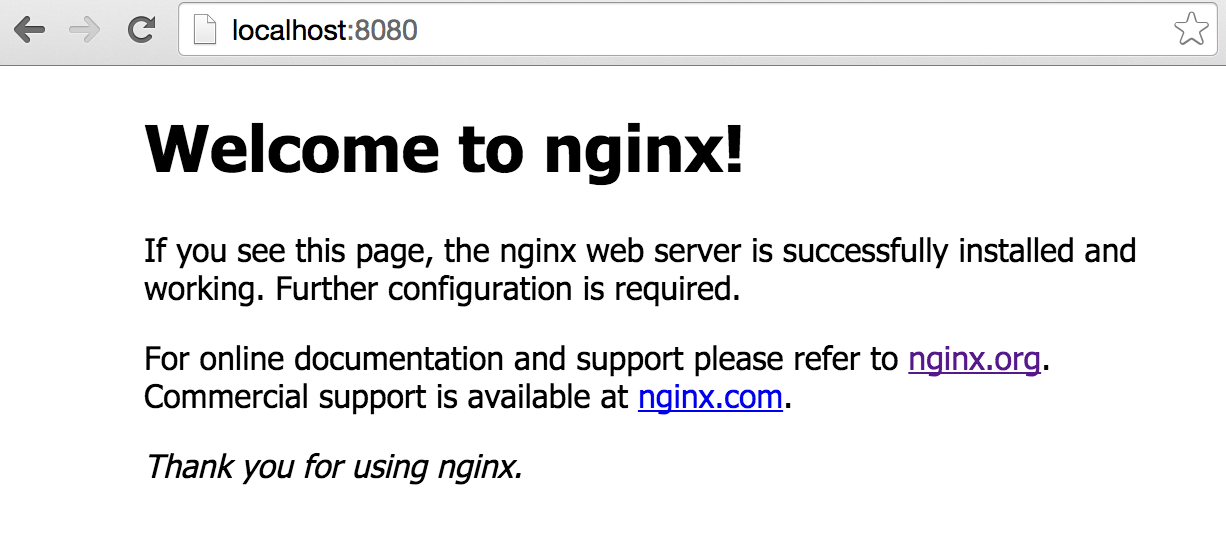
After starting nginx we can make sure it is working by loading the default page. The server listens on port 8080 by default, so browse to http://localhost:8080 and you should see the screen shot below.
Change Webroot and Port
The first thing I wanted to do was to update the webroot and the listening port of nginx. To do this we need to modify the nginx.conf file and reload the server.
http {
  ...

  server {
    listen 80;
    server_name  localhost;

    location / {
      root /www;

}
Here are the most important settings to understand first:
listen- the port on which the server is bound and will listen for requests.server_name- this value matches the host header value sent to the server. This will be important in a minute when we get to setting up another server to listen to other domains. This is similar to the use of virtual hosts in the Apache web server.root- this is the path to the webroot for the server.
Restart nginx and then load up http://localhost in the browser.
Virtual Host
OK, now that we have localhost running, what about setting up multiple virtual hosts in nginx. Here is an example from the Nginx primer written by Martin Fjordvald.
server {
  listen          80;
  server_name     domain.com *.domain.com;
  return          301 $scheme://www.domain.com$request_uri;
}

server {
  listen          80;
  server_name     www.domain.com;

  index           index.html;
  root            /home/domain.com;
}
Here, Martin is defining two servers:
- The first server is bound to port 80 and listens to all requests for “domain.com” and all subdomains “*.domain.com”. This captures all those that type in “domain.com”, and any subdomain, and redirects the user to the ”www.domain.com” domain. The redirect is a 301 redirect, signifying that this is a permanent redirect. This is good practice for SEO so that your server is only responding to ”www.domain.com“, which can avoid possible duplicate content penalties.
- The second server is also bound to port 80, but is listening to requests only for ”www.domain.com“. Nginx will use the server that most specifically matches the host header value. So, this does not conflict with using the wildcard match “*.domain.com” in the first server.
Also we should note the two variables that Martin used:
- $scheme - the scheme for the request, likely either “http” or “https”.
- $request_uri - the URI of the request. This is everything after the domain, including the arguments, or query string parameters.
You can view a full list of variables in the nginx documentation.
html > server > location
One important thing to understand is that all configuration is inherited in this way: html > server > location. This also means that any configuration value set at the location level will take precedence over the value set in the server or html block.
In general I think of the request cycle as follows.
- listens for a request,
- then based on the URL of the request, it finds the appropriate server
- then based on the URI of the request, it find the appropriate location
- runs any directives in the location, in order
- looks for a file matching the requested location
- if a file exists, it is server
- if a file doesn’t exist, and we are requesting a directory, then look for an index file
Directory Listing
When I first loaded up a directory without an index file (such as index.html) in my browser, I received a 403 Forbidden error.
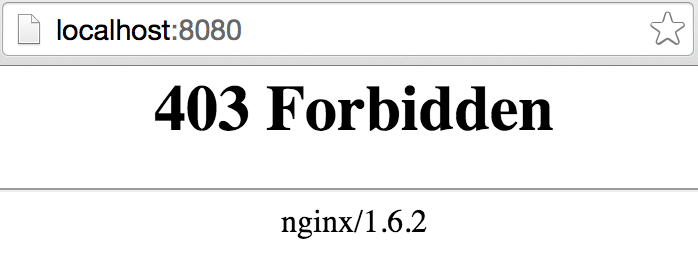
The reason for the 403 error is that nginx doesn’t have access to the file index.html, well, since it doesn’t exist. Which, is a bit confusing.
Why doesn’t nginx return a 404? Well, it’s because the default server configuration doesn’t specify to show a 404. We can simply uncomment the following line to do an internal proxy to the /404.html file.
error_page 404 /404.htmlIn my case, to get started, I wanted to simply allow nginx to show a directory listing of the files in my webroot. To do this, I just added the autoindex on configuration to the root location.
location / {
  autoindex on
}
Now when I fire up http://localhost I can see a listing of all my files.

Well, that’s it for now. Next step will be to set up a revere proxy to server PHP files via fastcgi and setting up search engine friendly URLs.